Free Image Gallery Umbraco Macro
The first of my free to use Umbraco macros is a picture / image gallery plugin that utilises the popular Fancybox library. You can try it now by clicking one of the following images to view an enlarged version.
Implementing the Umbraco Image Gallery Macro
You can add this free umbraco picture gallery plugin to your website by following these simple steps:-
Step 1 - Download the Macro Code
Download the free Umbraco image gallery macro from github and save it into the /views/macropartials folder of your website.
Step 2 - Register the Macro in Umbraco
Log in to your Umbraco CMS, select the Developer section and click to create a new macro. Complete the properties for the new macro as shown in the following images (the MVC Partial View field should contain the full path to the macro partial you saved in step 1).
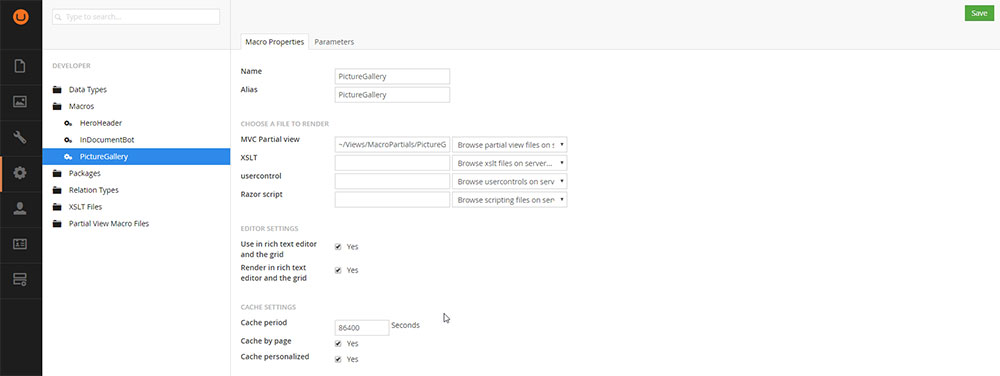

Step 3 - Add the Macro to Your Content
Add your picture gallery macro anywhere you like, either in the grid control, or as a data type:-
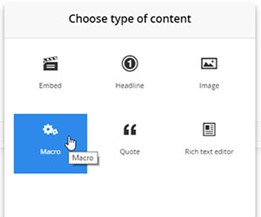
Step 4 - Adding Images
Once you have added your macro to a grid or datatype, click it and select the images you want to include in the picture gallery:-
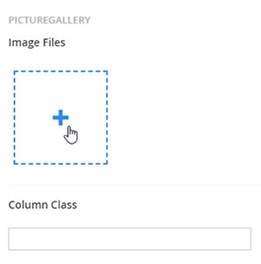
For each image you want to include in your gallery you have to provide a large and small (thumb) version. Images filenames should use the following naming convention:
any-image-name-you-like.jpg
any-image-name-you-like_th.jpg
Step 5 - Add a Class for Layout
The final step when using this picture gallery macro in your Umbraco website is to add a class name to control the layout of the thumbnails. I tend to use Bootstrap grid for layout, so in this case add the relevant class name depending on how many columns I want to display i.e. class 'col-md-3' will give me 4 thumbnails per row.
Free Umbraco Responsive Banner Image Macro
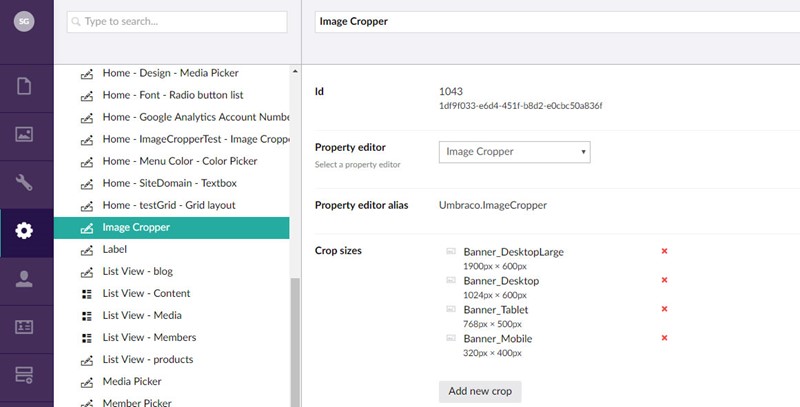
My next free Umbraco macro is for a Responsive Image Banner, which you can download from github. This macro makes use of the Image Cropper function, producing a simple, full width responsive image that makes use of pre-defined crops named:-
- Banner_DesktopLarge (1900px x 600px)
- Banner_Desktop (1024 x 600)
- Banner_Tablet (768 x 500)
- Banner_Mobile (320 x 400)
All crops are centered around the crops and hotspot you define e.g:-
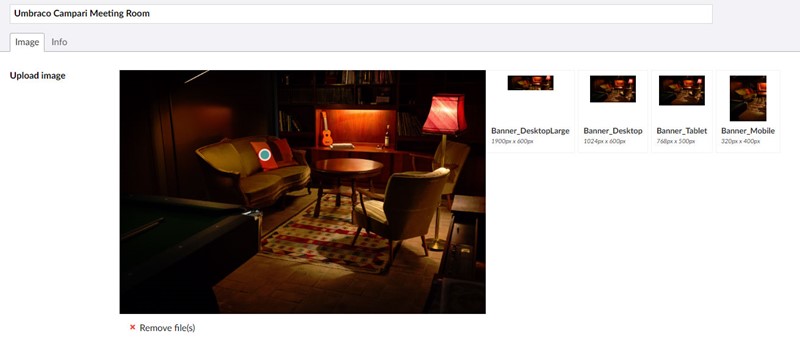
To use this free umbraco responsive banner macro follow these steps:-
Step 1 - Include the Macro View in Your Project
Download the responsive banner macro file from github and include it in your ~/views/macropartials folder.
Step 2 - Register the Macro in Umbraco
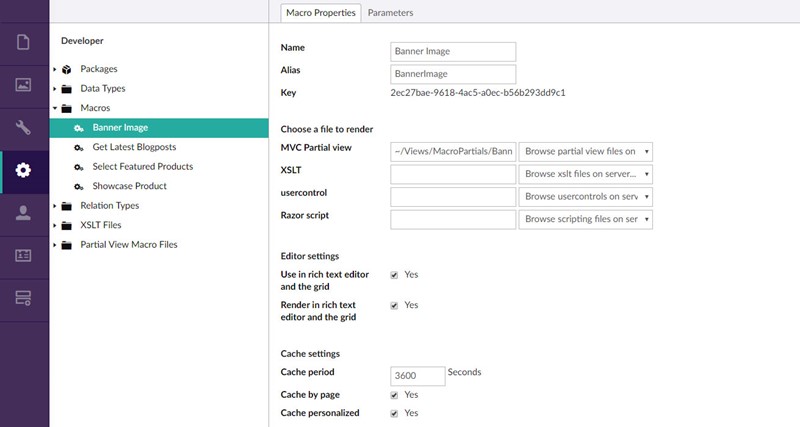
The next step is to register the banner macro in the Umbraco CMS as follows:-
Step 3 - Add Parameters for Banner Macro
The third step is to add the relevant parameters to your macro as follows:-

Step 4 - Create Banner Crops
The final step in setting up the Umbraco banner macro is to create the relevant crops. This is done in the developer section of the backoffice as follows:-

Leave Your Comments...